Customize video with professional program
BeeCut
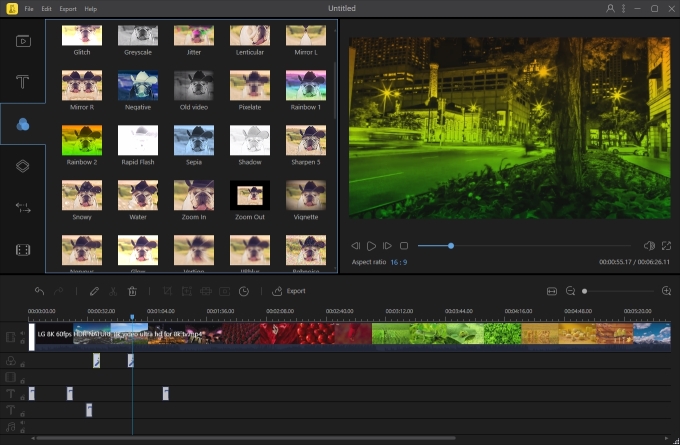
As the name indicates, this professional program is designed to do editing jobs for media files including video, audio and image. With this program, users can perform trimming, cropping, splicing and blending for multiple media files. Since it also provides different glamourous effects, text patterns and transitions, you can make your works more enchanting and personalized. Once you have finished editing, this program also empowers you to generate VE projects, export to video file and even upload to YouTube, Vimeo, and other popular social networks. Below are basic operation steps about editing YouTube videos with this program.
- Click the button below to download and install BeeCut on your PC.
- Launch the program and then import your video file into the program.
- Right your video and choose “Add to track” option.
- Upon the track, you can add text, filters, transitions and make other editing jobs for your video.
- Click “Export” > “Export as video” to generate the video.
Edit the video online
Video Editor for YouTube
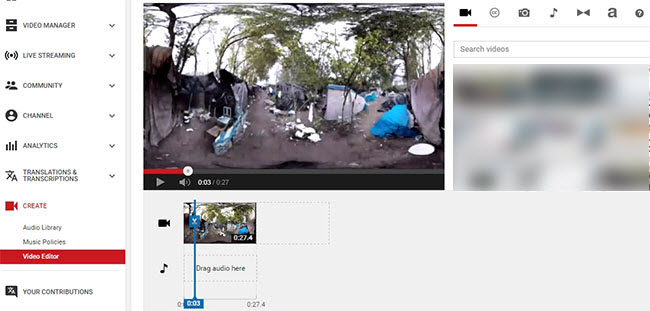
Actually, YouTube also comes with some simple editing options along with uploading function. The video editor for YouTube provides some simple editing options for users to combine, trim video clips as well as customize the video by adding effects and music. The editing jobs can be done right after publishing, therefore it’s quite convenient to use this video editor. Meanwhile, this tool is extremely easy to use, you may refer to the guidelines below to learn how to edit YouTube videos.
- Go to the page of YouTube and then log in to your account.
- Click the “Upload” button and drag your video to the page.
- Fulfill the info and then publish your video.
- Click “Video manager” > “CREATE” > “Video Editor”.
- Add your uploaded video and then customize the video based on your preferences with given editing options.
Aside from this online editor, another online application also performs well. You can learn more details below.
Video Grabber
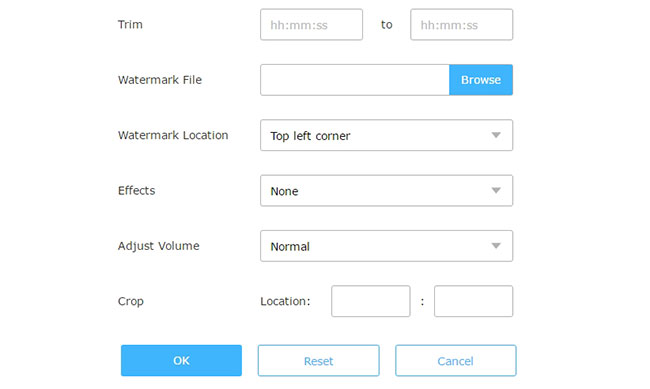
This web-based application is called Video Grabber that provides effective service for downloading online streams as well as editing media files and recording screen activity. Comparing with the former one, this application can not only edit the video of your own but also others’. It offers multiple editing options, such as trimming, cropping, adding watermarks and effects as well as customizing playback speed, volume, resolution, bitrate, etc. Benefiting from the intuitive interface, it’s quite simple to edit YouTube videos with this application. Just follow the steps below.
Step 1 (optional)
- Open a video on YouTube that you wish to edit and then copy the link.
- Go to the site of Video Grabber and then paste the URL on the address bar.
- Click the “Download” button.
- Follow the instructions on the webpage to download and install Launcher if it’s the first time for you to use it.
The Launcher is absolutely safe that won’t harm your computer. Also, it’s quite small that won’t take too much space on your disk. Absolutely, this step can be ignored, if you just need to edit your video.
Step 2
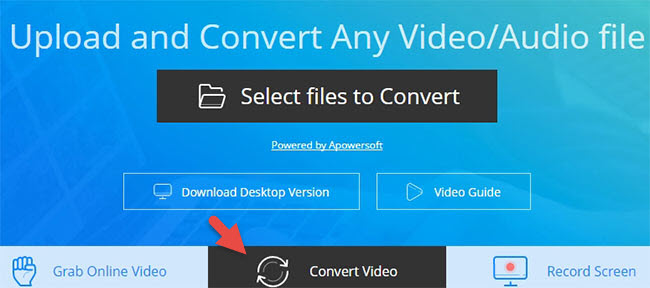
- Click the “Convert Video” tab upon the main page of Video Grabber.
- Hit on the button of “Select Files” to browse your local video file.
- Click the Edit icon on the pop-up page to activate the editor.
- Customize the video with the given editing options.
It’s also feasible to edit YouTube videos with desktop programs which generally come with more advanced functions.
Bottom Line
The second method is the most convenient way to edit YouTube video, however, it falls short in limited functions and it only works for the video of your own. Video Grabber works nicely in both editing personal and others’ videos. It’s recommended to use BeeCut if you prefer more practical and advanced functions.


Leave a Comment 137