I am adding an animated GIF file to Windows Movie Maker. However, it has no animation effects and it only appears as the frame and it has no animation effects. With this matter, I am now searching for some help to guide me in converting gif files that can work well in Movie Maker.
Hacks to import animated GIFs to Movie Maker
First, I want to suggest that the Windows Movie Maker should be upgraded from the older version to the latest version which is the Windows Live Movie Maker. This latest version has more interesting features and effects that will make video editing easier.
Method one: Adjust duration settings in windows live movie maker
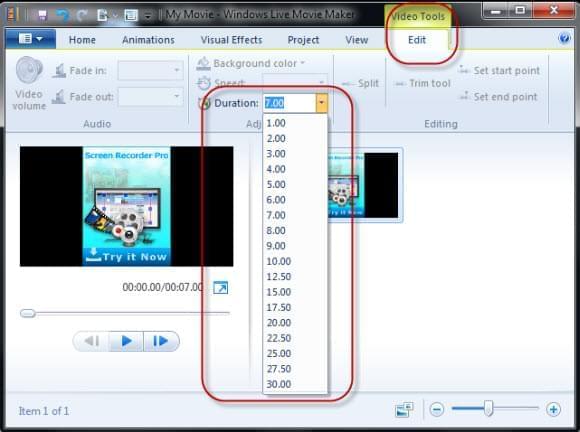
To import GIF into Windows Movie Maker can be simply done with just few clicks. Once you have this program all you need is to open it and import the animated GIF file that you desire to use by clicking Add videos and photos. Now when the file is on the program’s platform, hit the Video Tools tab and you will see the Duration field, simply change the time which is in seconds to fit in the animation length and movements of the GIF photo. Be sure that you know the actual length of the animated file; you can check it by looking it through picture viewer. Just type the value till it matches the GIF image. To insert additional GIF files and videos follow these same procedures. And save the video when you are done with all the editing. Moreover, to use it in further video project you can continue with it after you modify the Duration.

Method two: Using VirtualDub
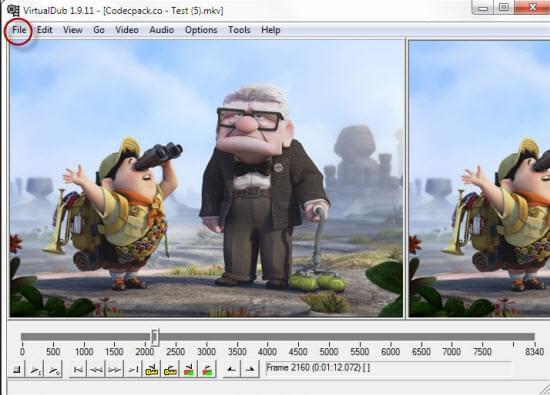
When you find it hard to control and adjust the Duration in Movie Maker which is necessary to add GIFs to Windows Live Movie Maker, you can utilize VirtualDub. It is commonly used for video compression, while it also has a function of converting GIF into AVI file. Just download the VirtualDub and look for its icon and click it to open. Now hit File on the menu and choose Open video file and browse for the GIF image that you want to process. After the image is open, you can now hit back File and then Save, be sure that you are saving it as on a AVI format. It is a good tool to use but it can only process one file at a time which may be time consuming. When the conversion to AVI is done, we can now insert an animated GIF into Movie Maker but now in an AVI format and instantly continue with the creating a new video.

Both of the above methods can be use perfectly to import animated GIFs to Movie Maker. However, the difference would be on the time that it takes for the processing and availability of the GIF’s file. By using Windows Live Movie Maker the GIF image can be directly use for video making after altering the Duration. While with VirtualDub, the GIF picture that was converted to AVI should be imported again to Windows Live Movie Maker to be utilized for creating a video, which can take more time to accomplish. It is better to try them both before deciding which method is to utilize.